Dashboard Tour
A visual walkthrough of the Merchant Dashboard. The screenshots below come from a sandbox account populated with realistic sample data so you can preview exactly what you and your team will see once you start processing payments with Paypercut.
Want to explore the live dashboard yourself? Sign in to the sandbox with your test credentials — every screen on this page is available out-of-the-box.
Payments
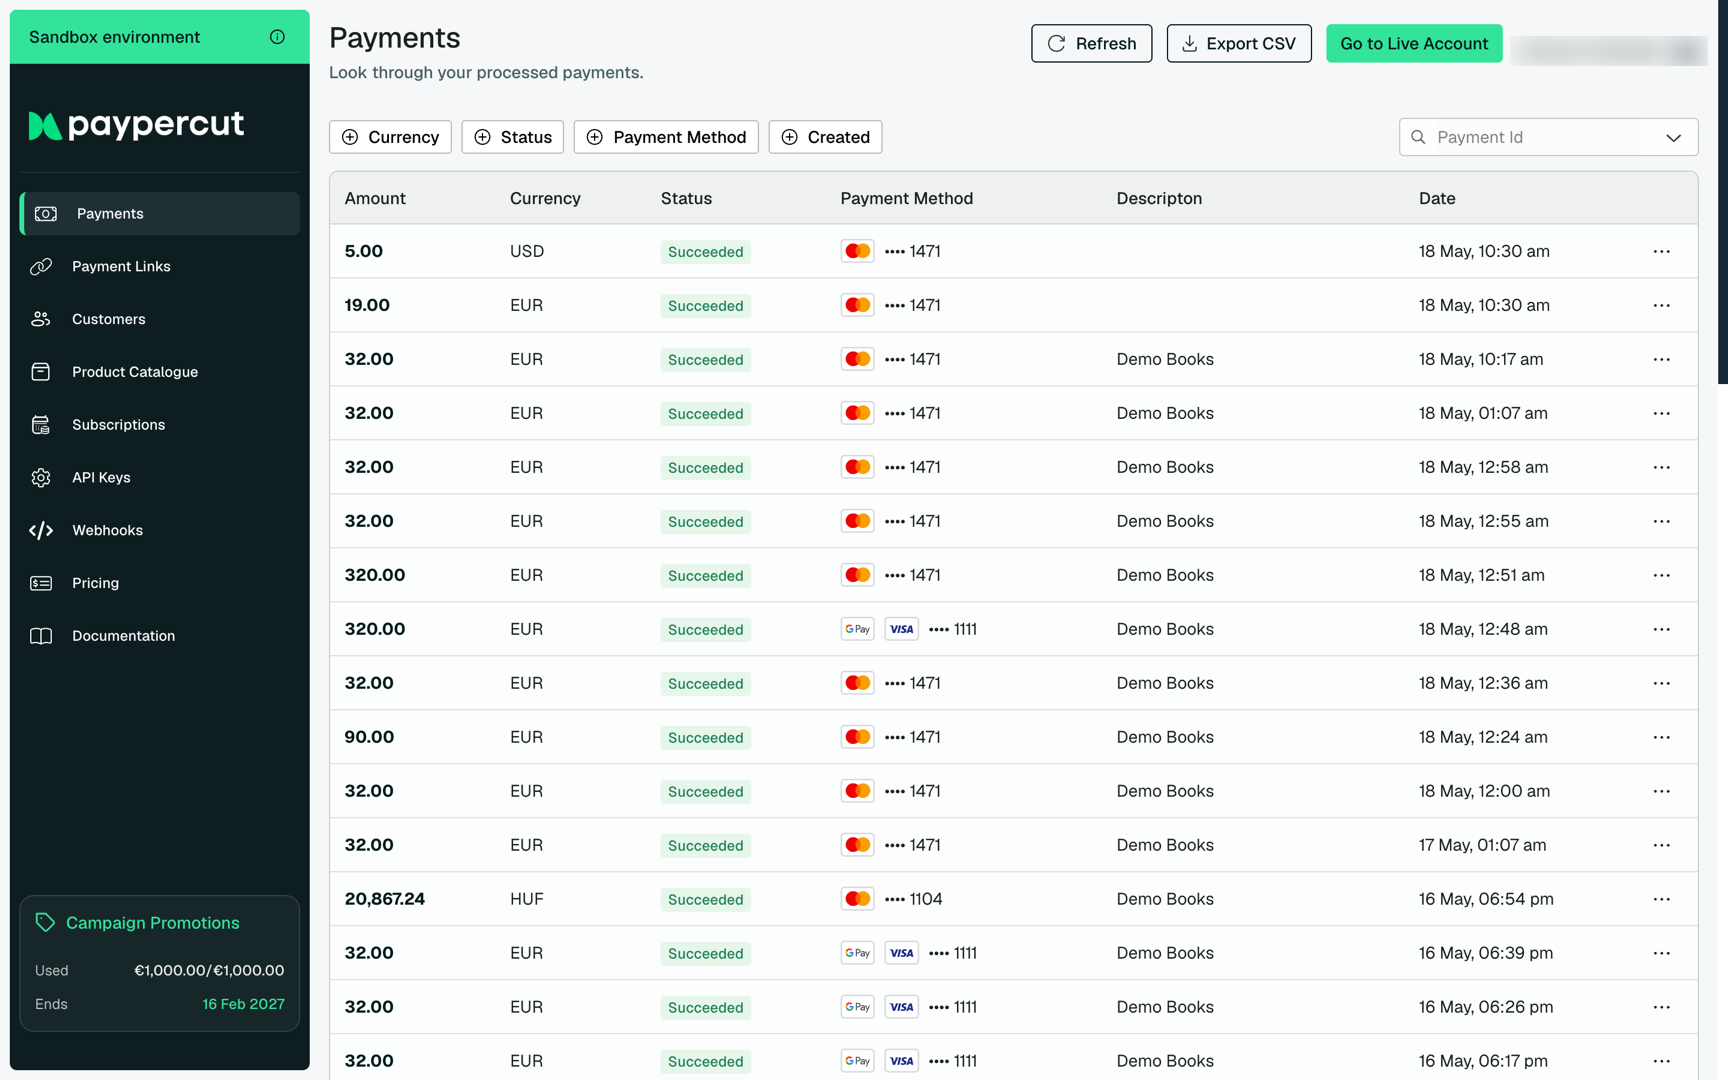
The Payments page is where you monitor every transaction processed through your account. Filter by status, currency, or payment method to pinpoint individual charges, and export the view to CSV for finance and reconciliation work.
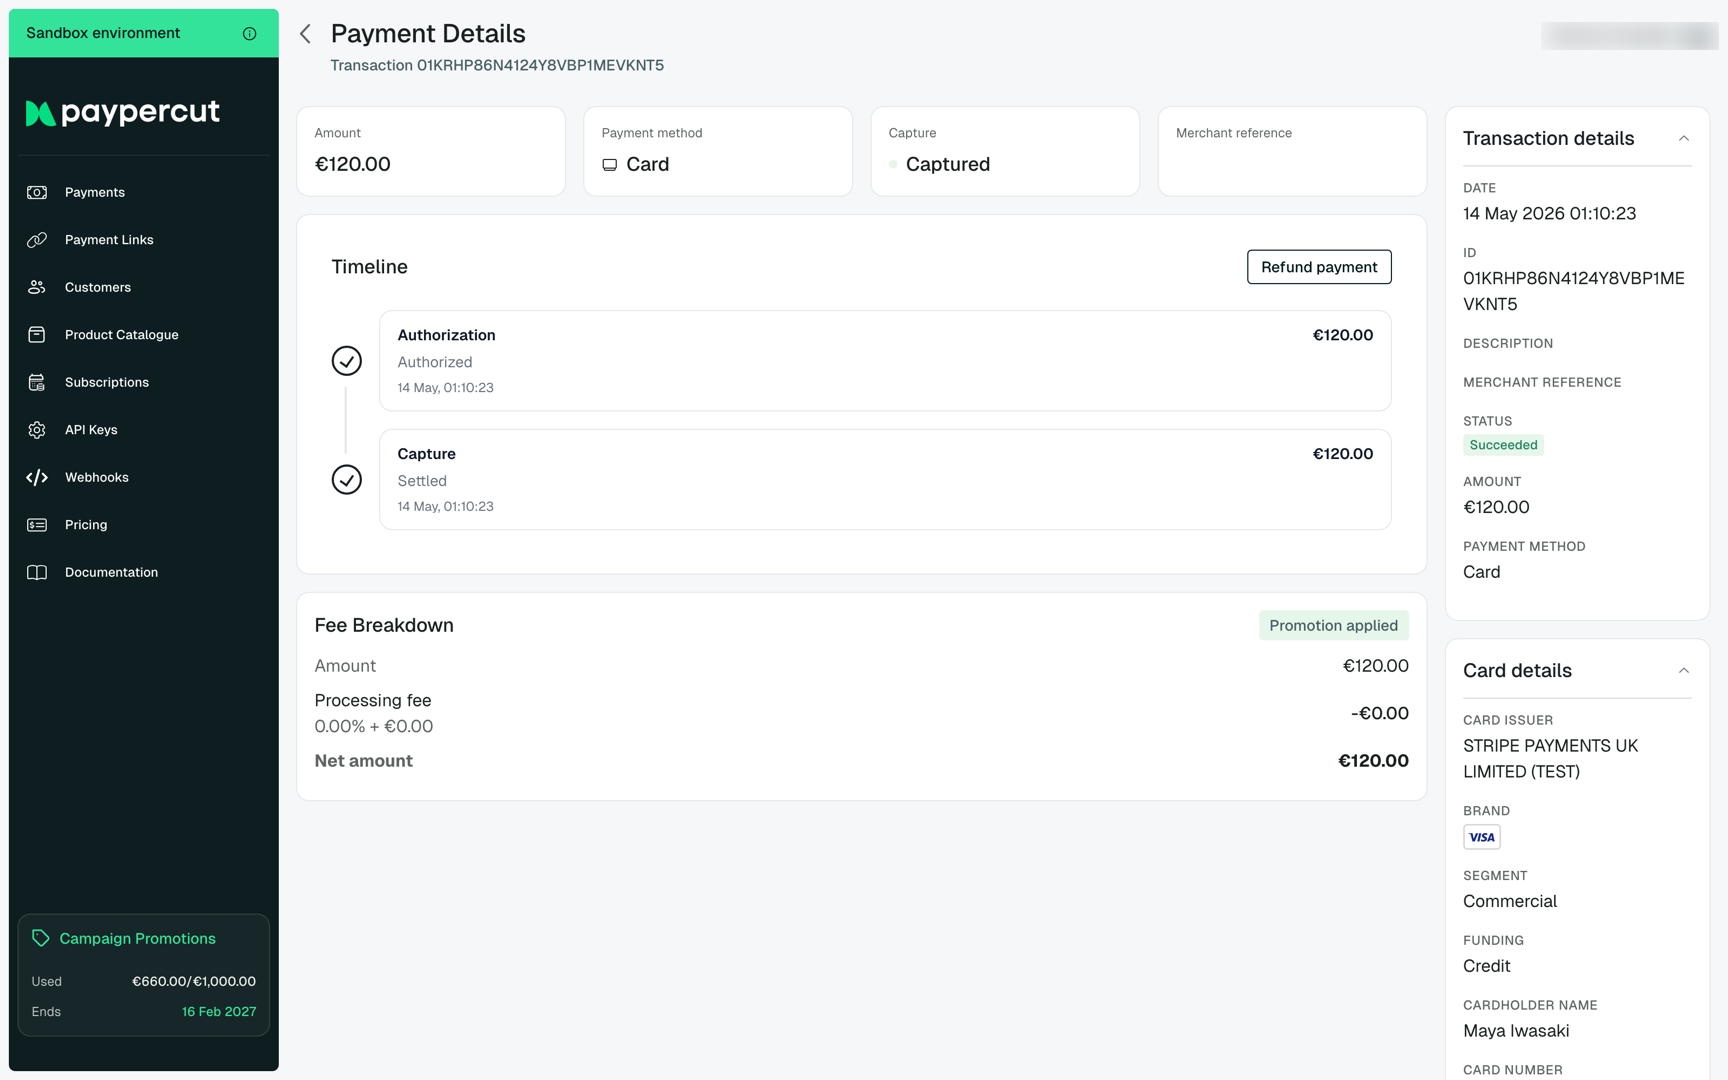
Click any row to open the Payment details view. Each payment includes the full processing timeline (authorization, capture, refunds), the captured amount and fees, the underlying card details surfaced by the issuer, and a merchant reference you can attach when creating the charge.
Customers
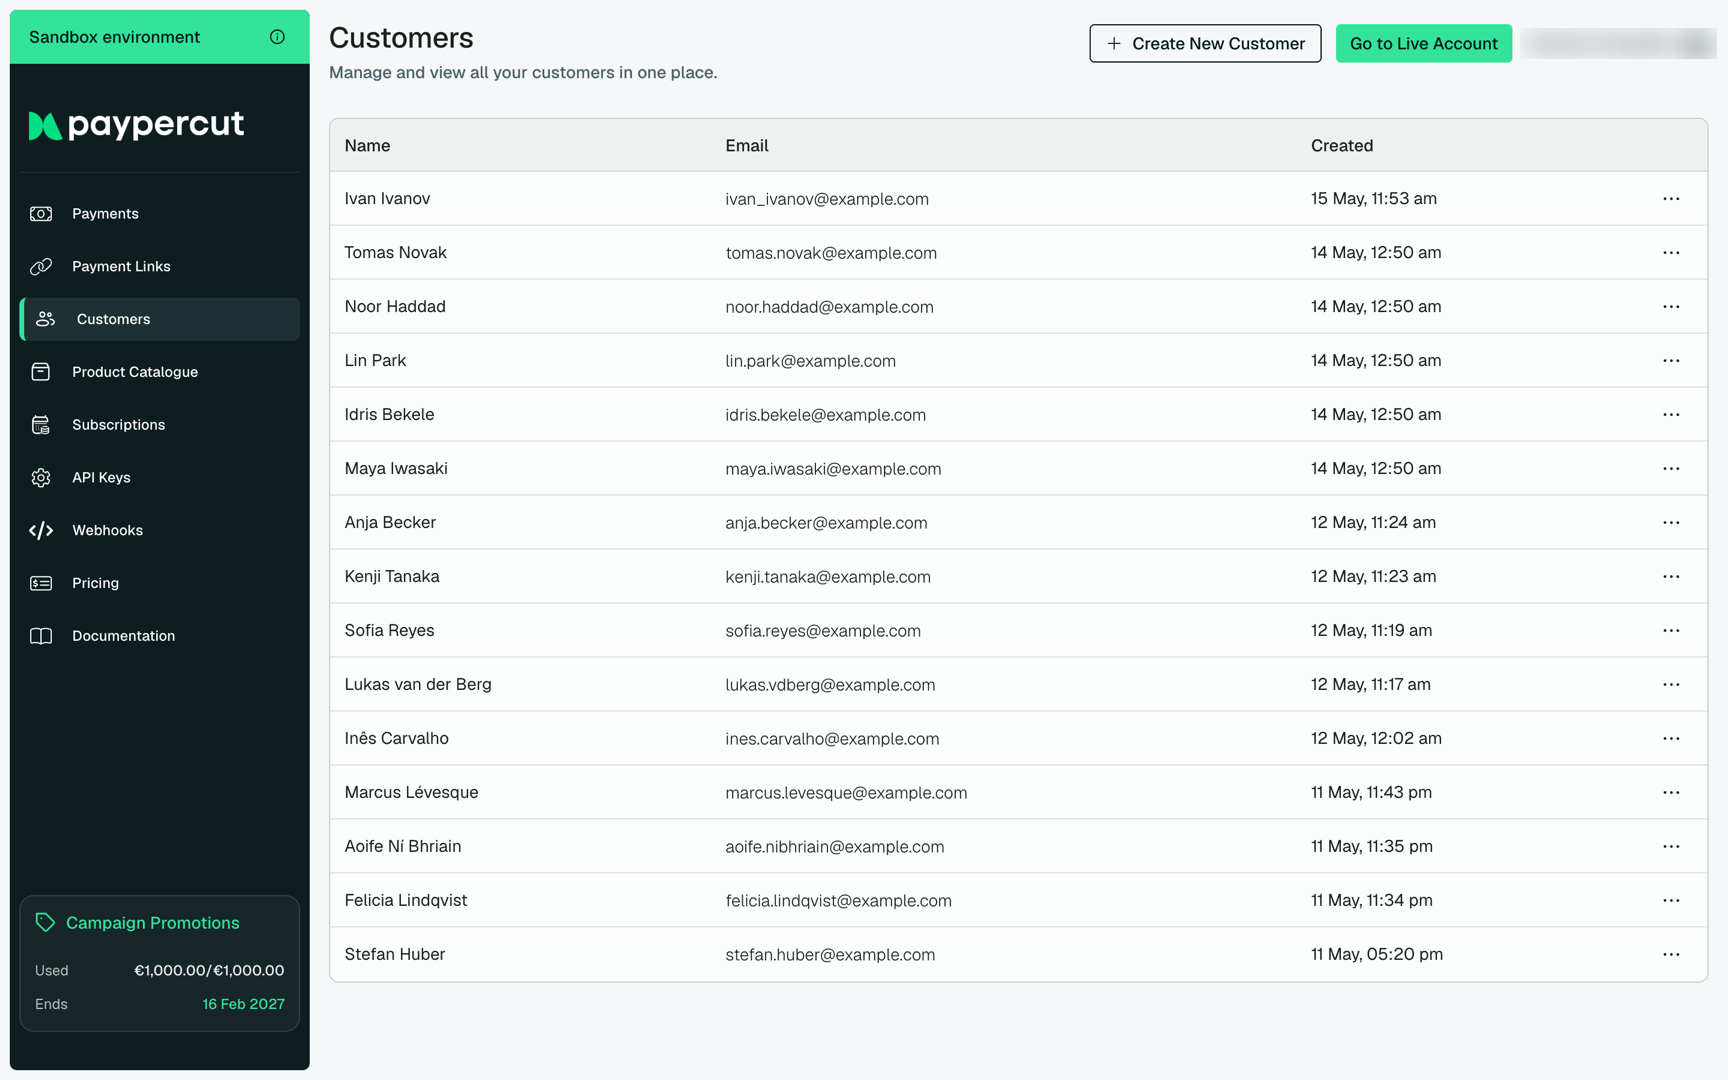
The Customers page lists every customer record created against your account — whether through the API, the Checkout, or imported manually. Use it as a single source of truth for who is paying you.
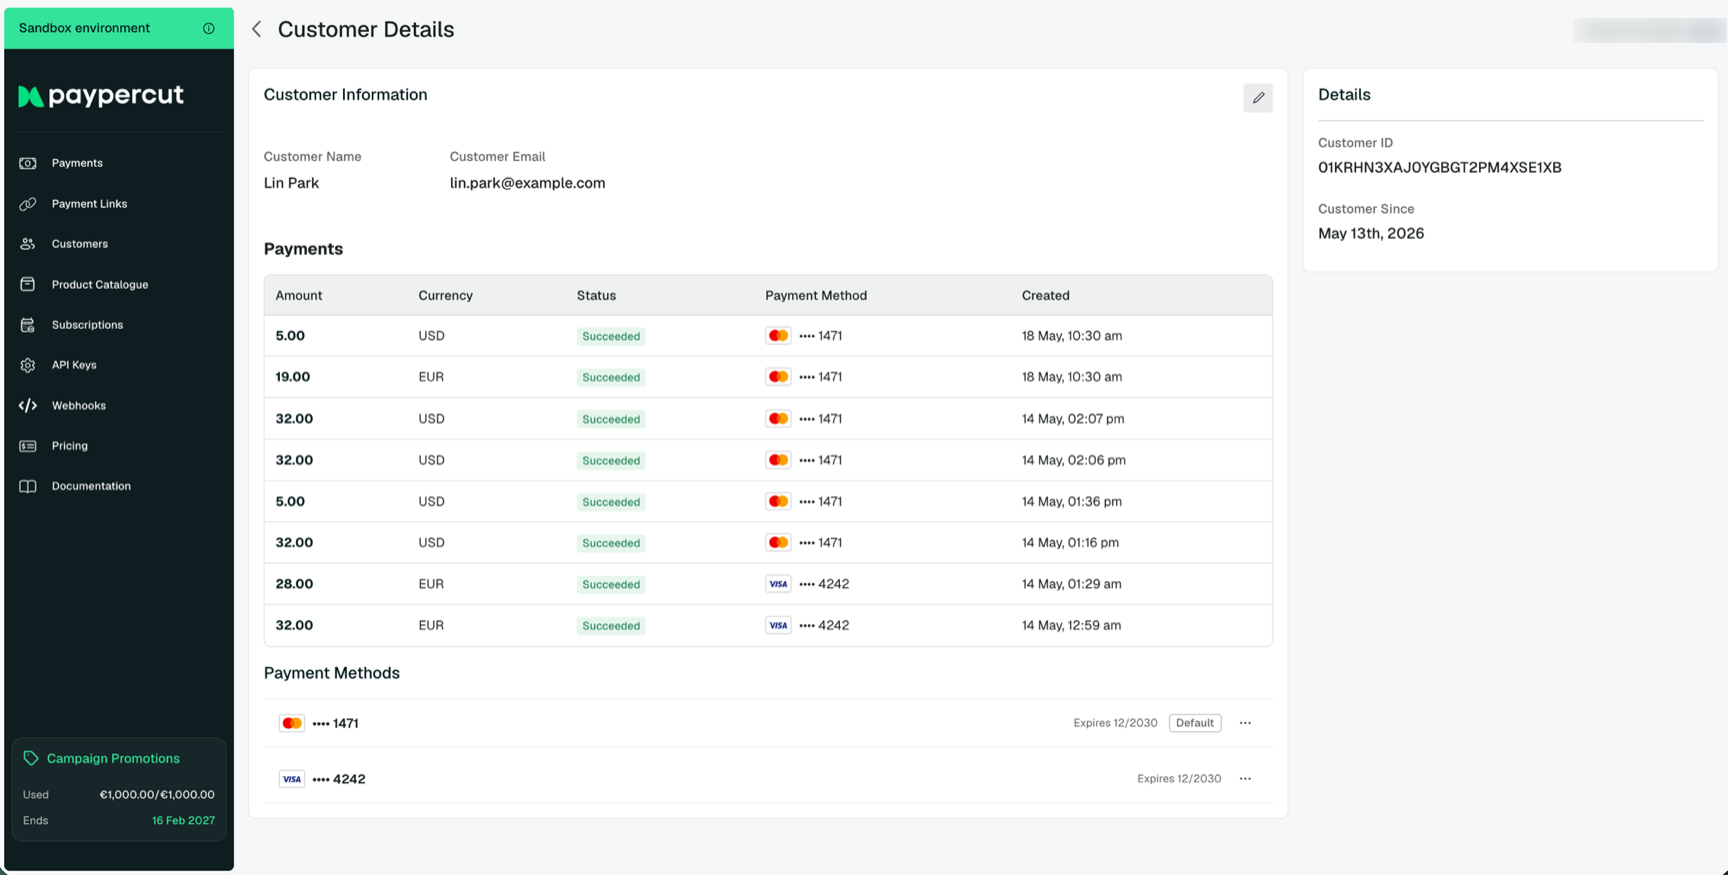
The Customer details view brings together everything you know about a customer: their contact information, every payment they have made, and every payment method on file. From this screen you can edit profile fields, manage saved payment methods, and follow the customer's full payment history across products and currencies.
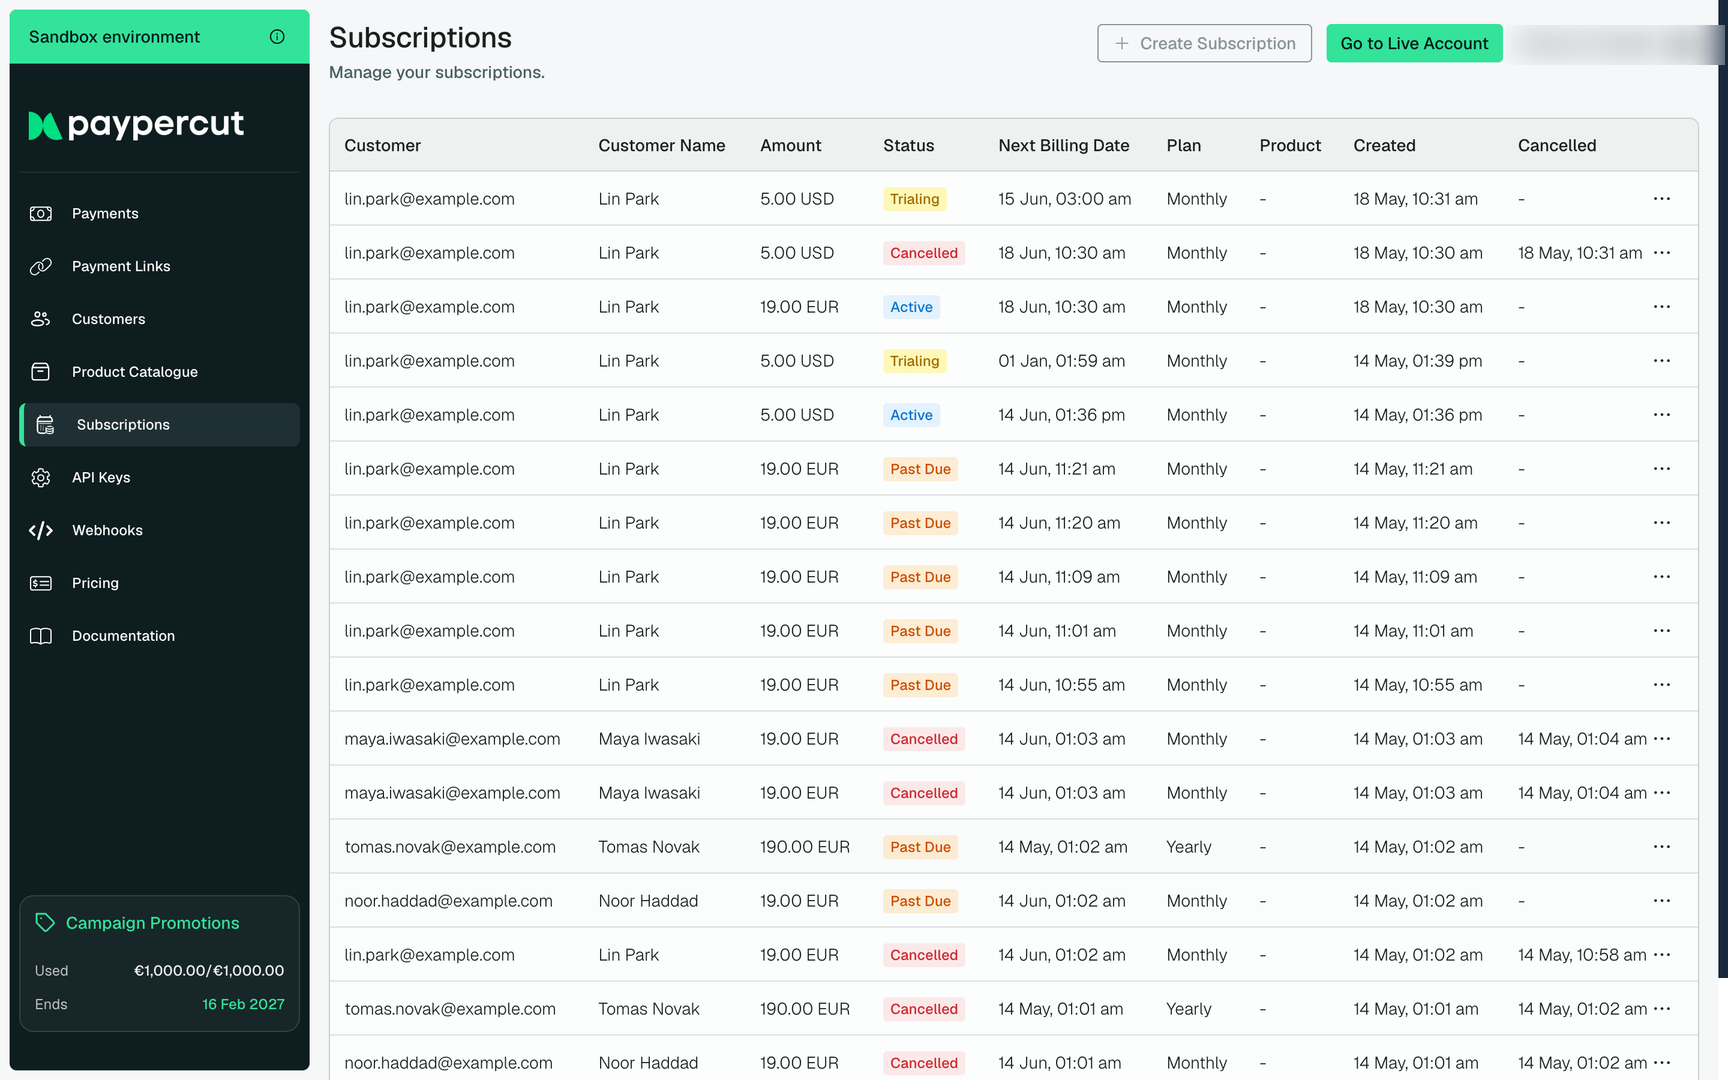
Subscriptions
The Subscriptions page surfaces every recurring billing relationship — active subscriptions, customers currently on a trial, subscriptions that are past due, and those that have been cancelled. Status badges make it easy to triage at a glance.
Drill into a subscription to see its billing cadence, next renewal date, the linked customer, and the product or price that drives the recurring charge. The three-dot menu on each row exposes lifecycle actions such as cancelling the subscription.
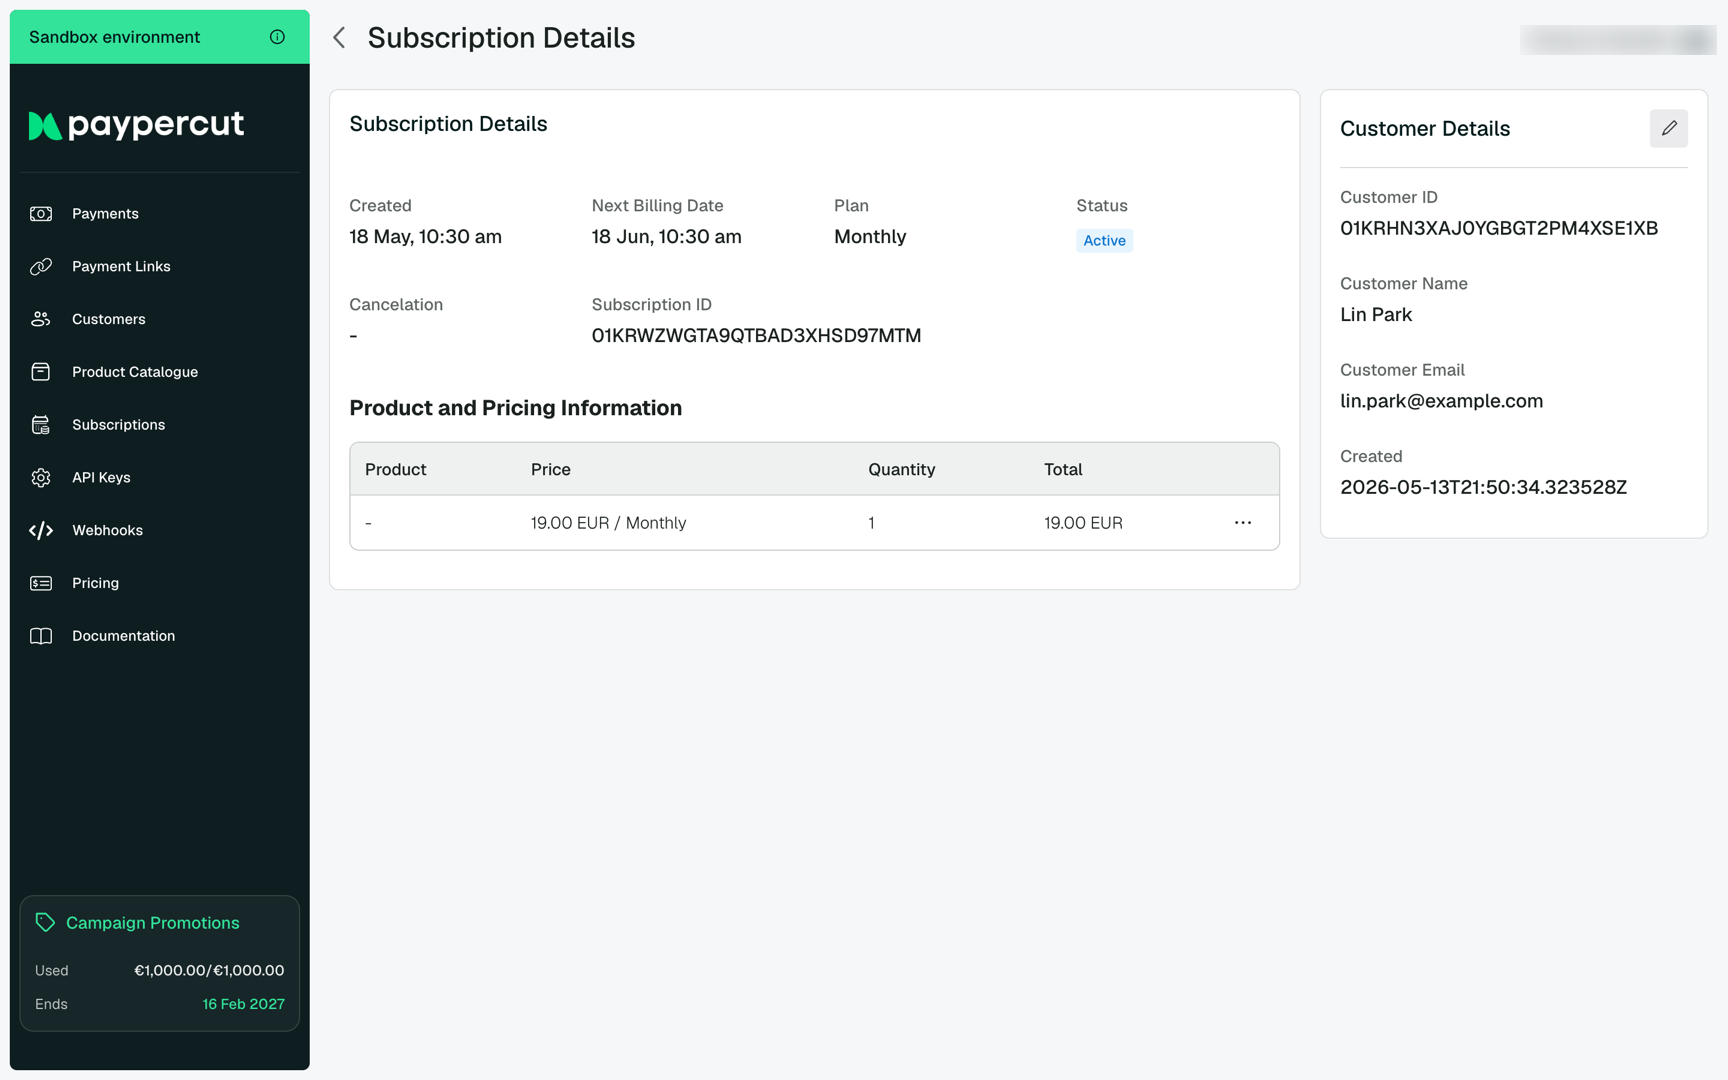
For a deeper walkthrough of how subscriptions work, see the Subscriptions guide.
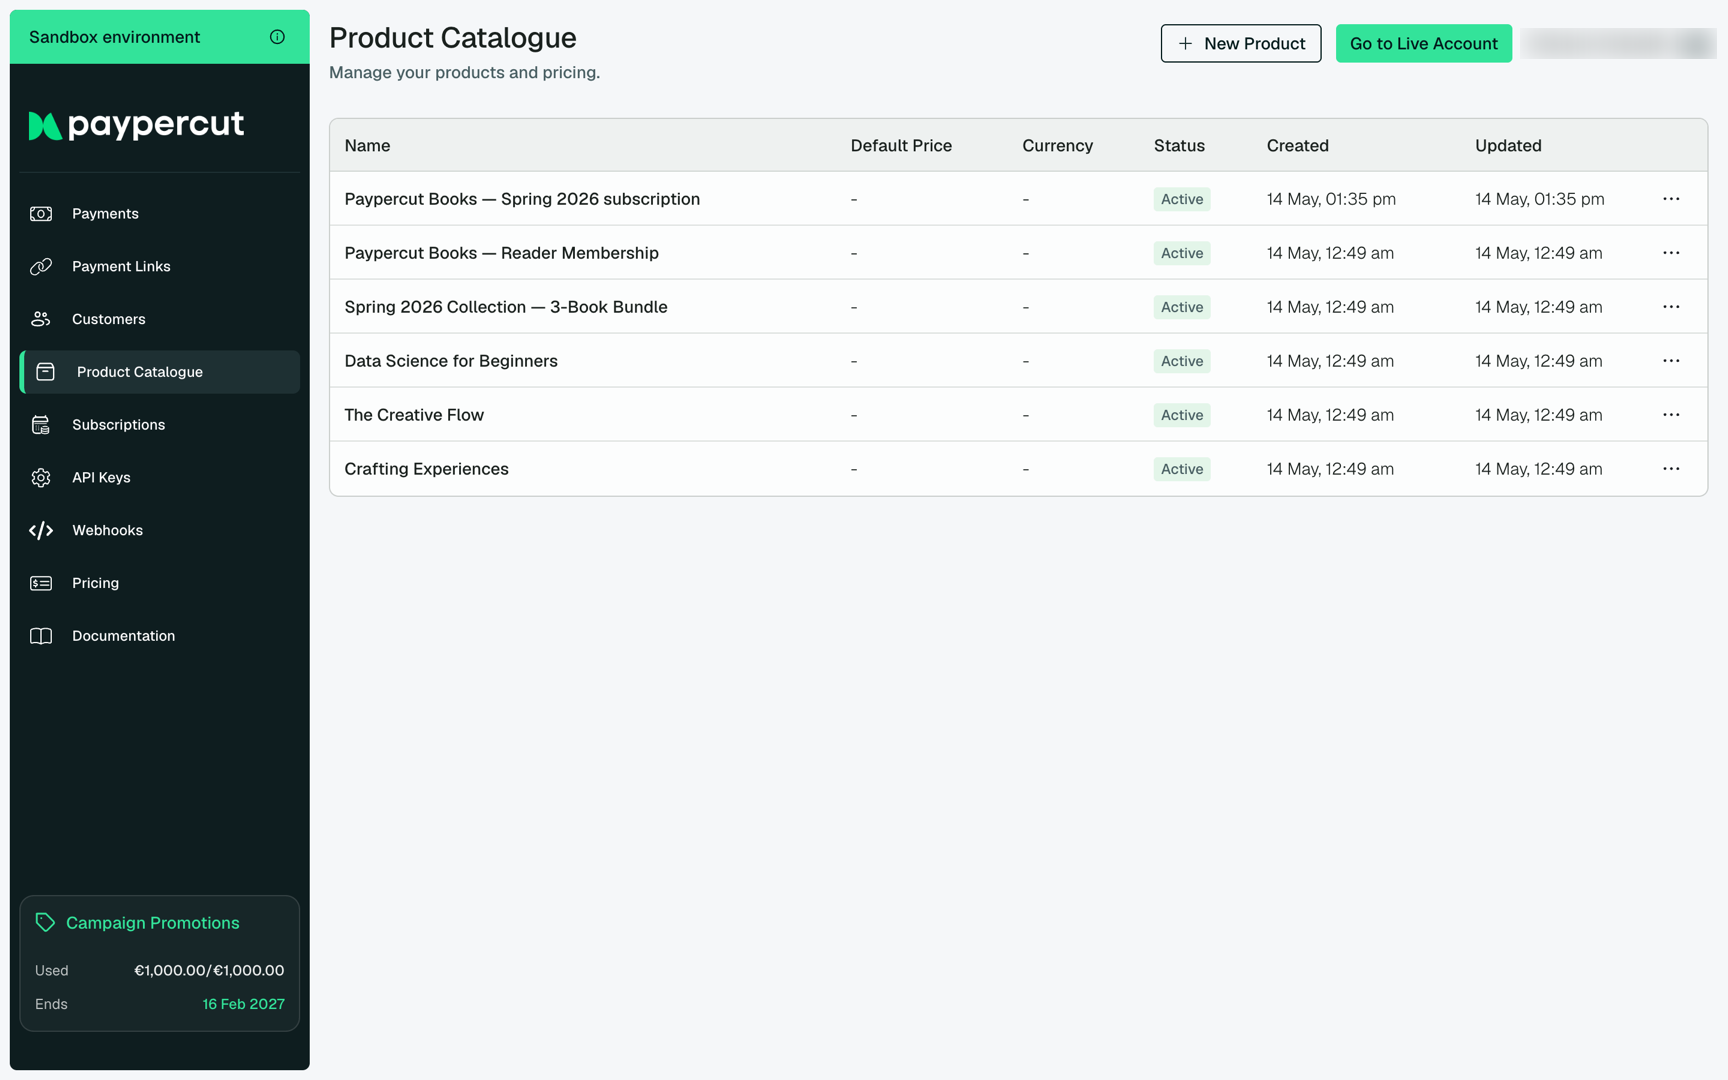
Product Catalogue
The Product Catalogue is your library of everything you sell — one-off goods, services, and recurring plans. Each product can carry multiple prices in different currencies, which keeps your pricing model flexible across markets.
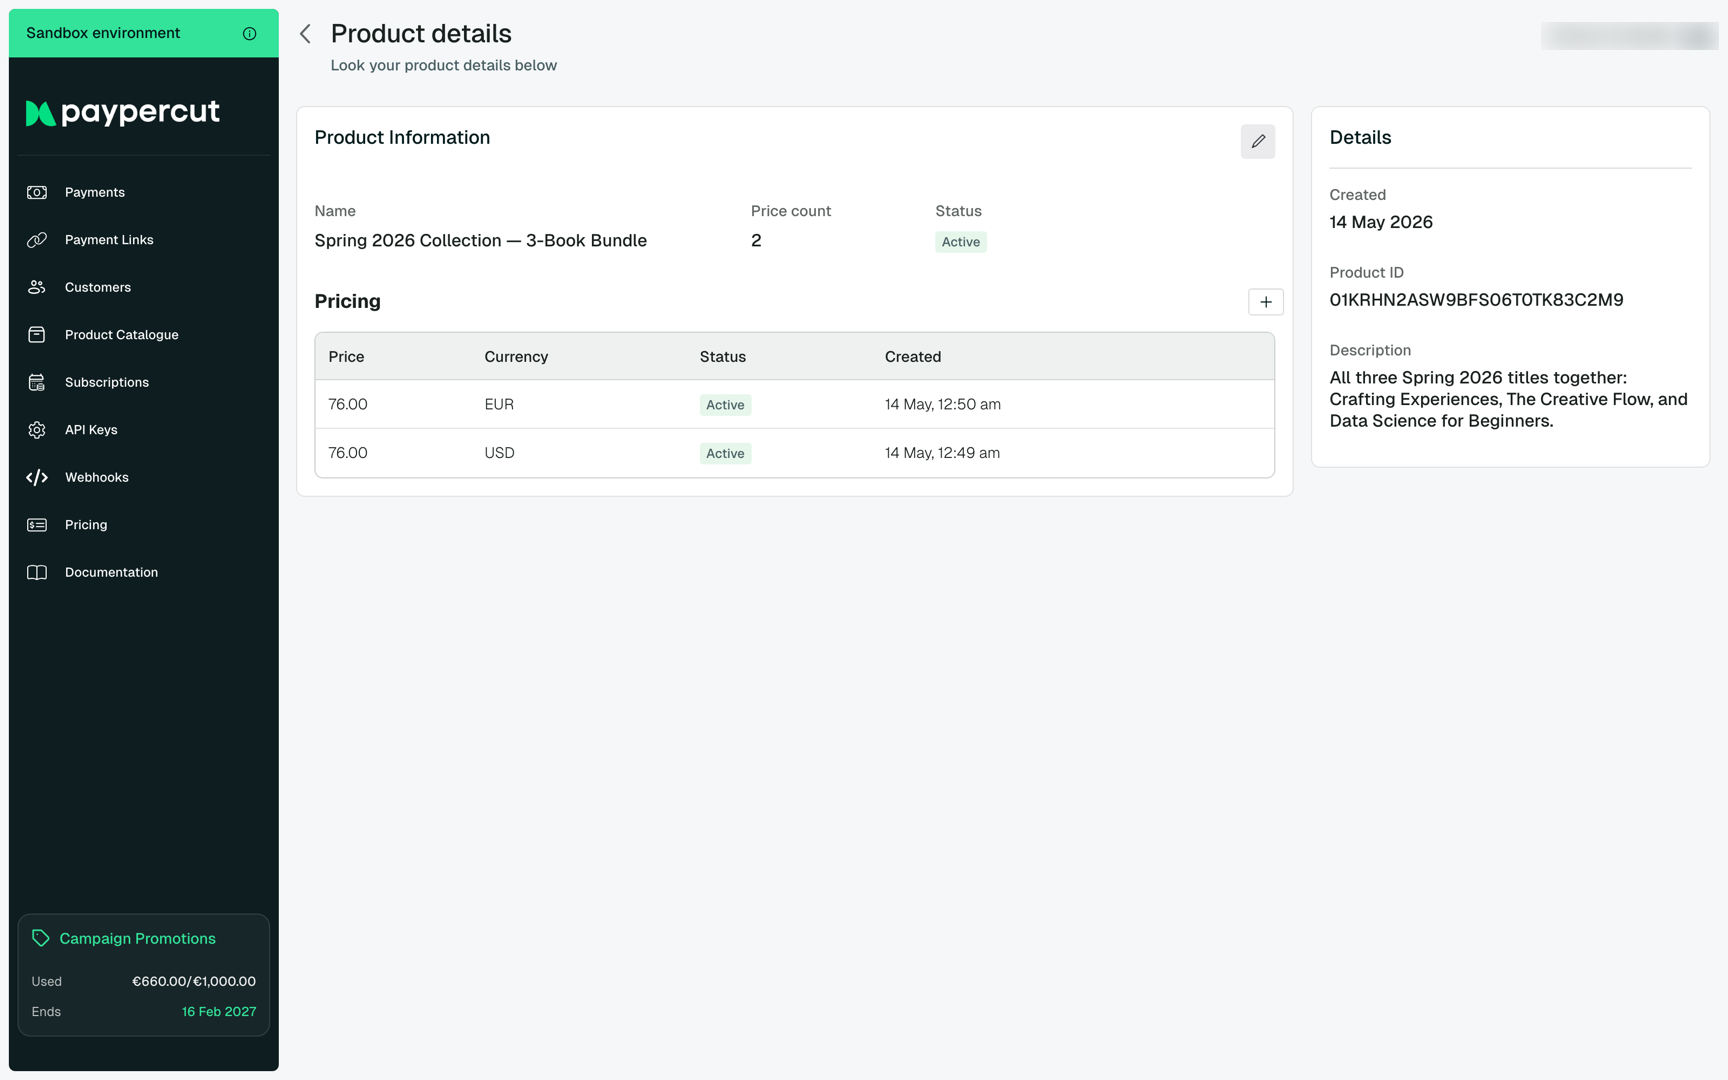
The Product details view shows each price you have published for that product — their currency, status, and creation date — plus the product ID you use when creating prices, checkouts, or subscriptions via the API.
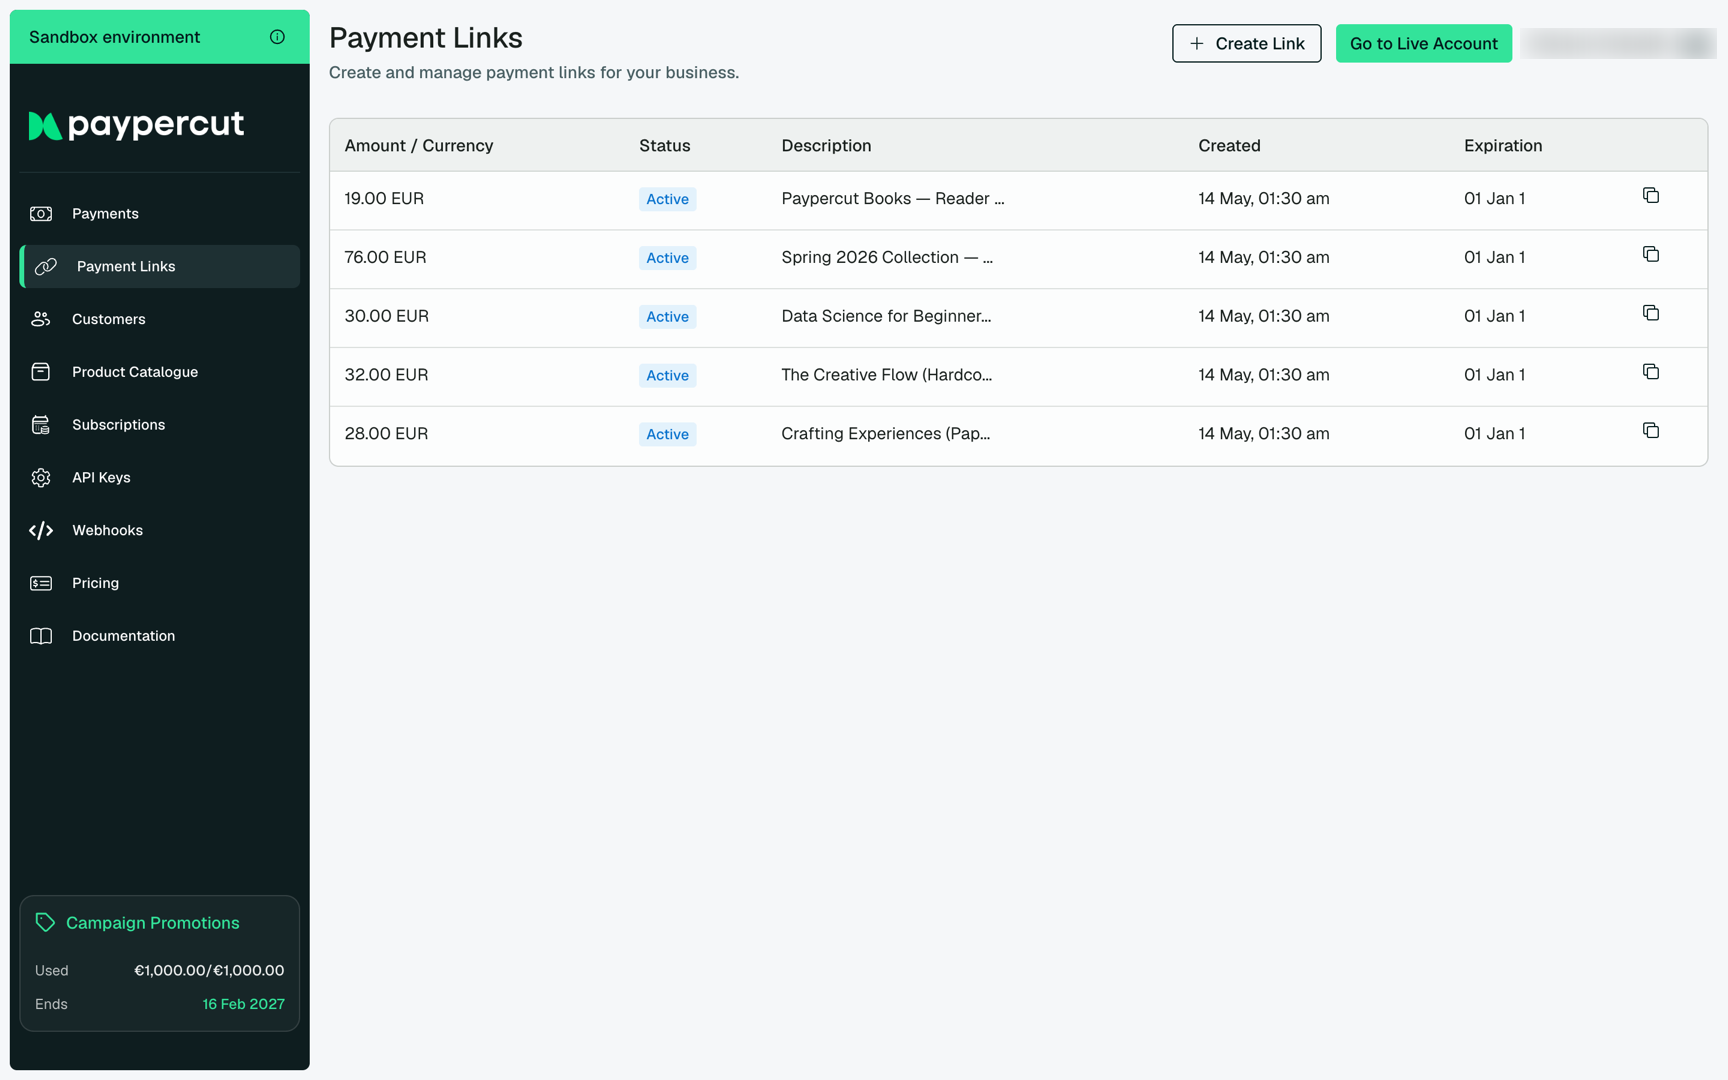
Payment Links
Payment Links are shareable URLs (and QR codes) that point at a hosted checkout. They are the fastest way to collect a payment without writing any integration code — paste them into an email, a chat, or print the QR on an invoice.
Open a link to see its full URL, scan-ready QR code, and the product or amount it collects. Share it as-is, or pull the URL into your own templates.
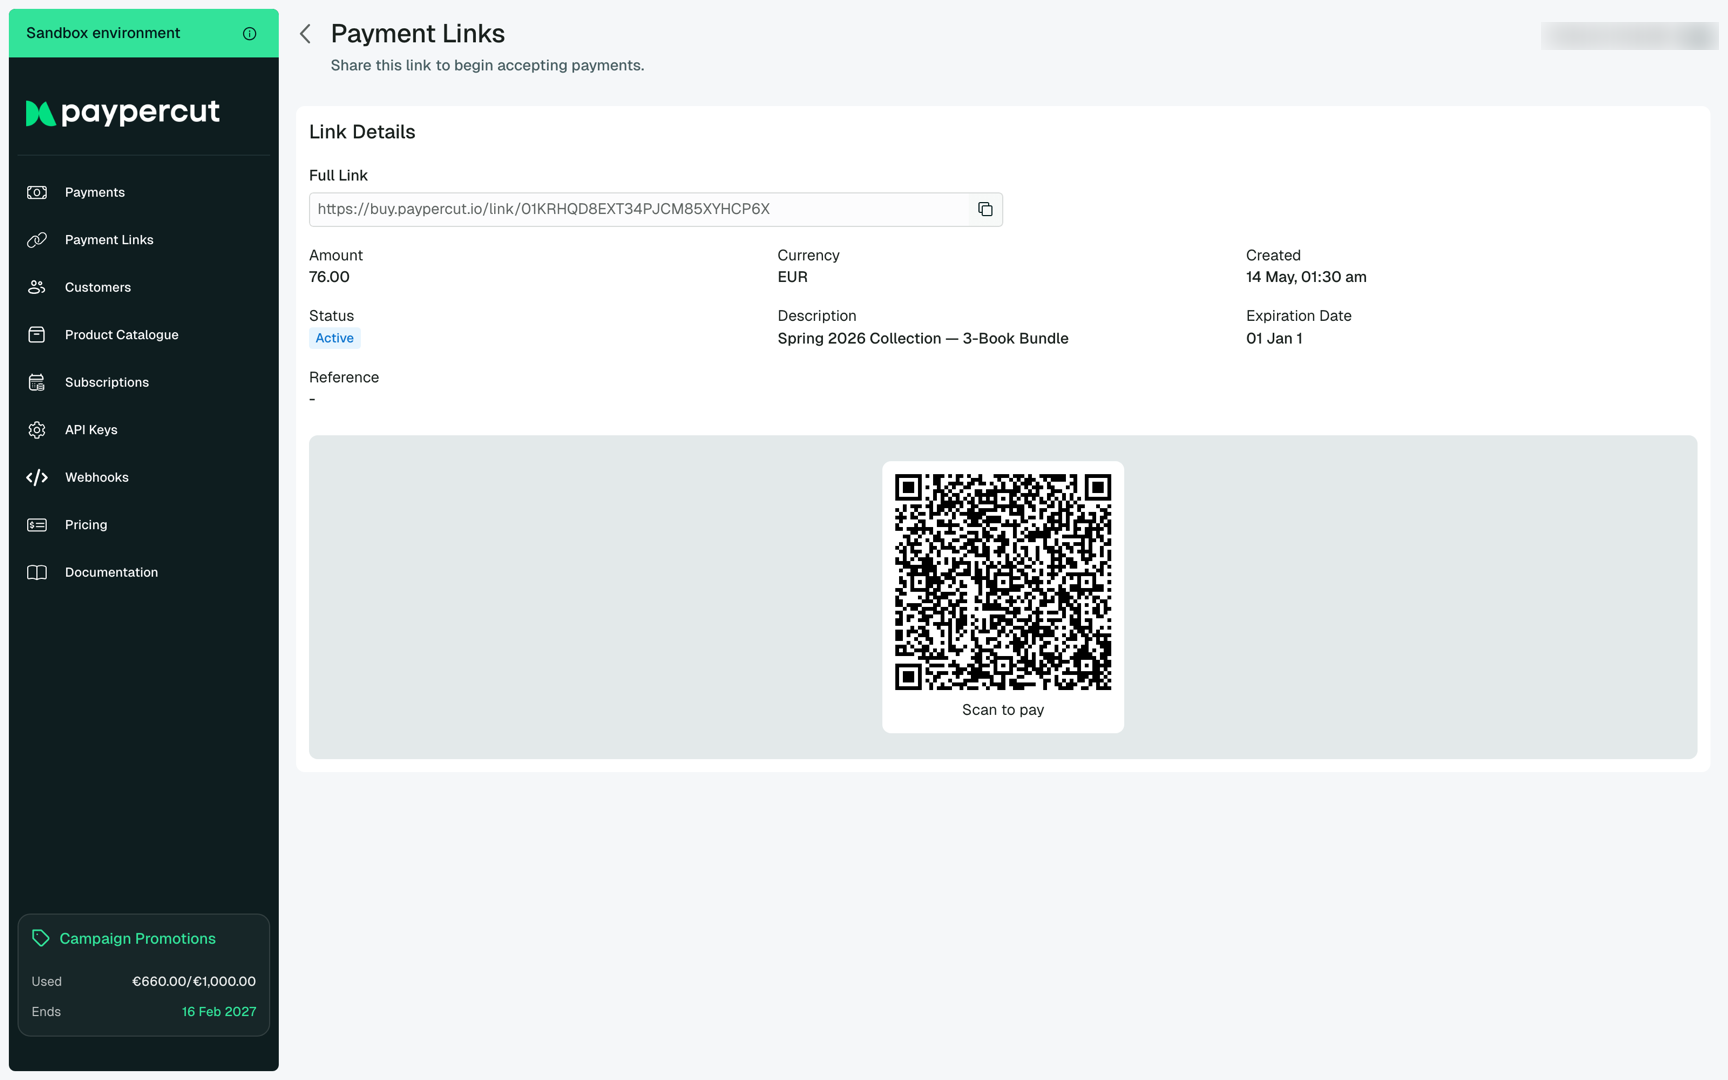
For more on creating links programmatically, see the Payment Links guide.
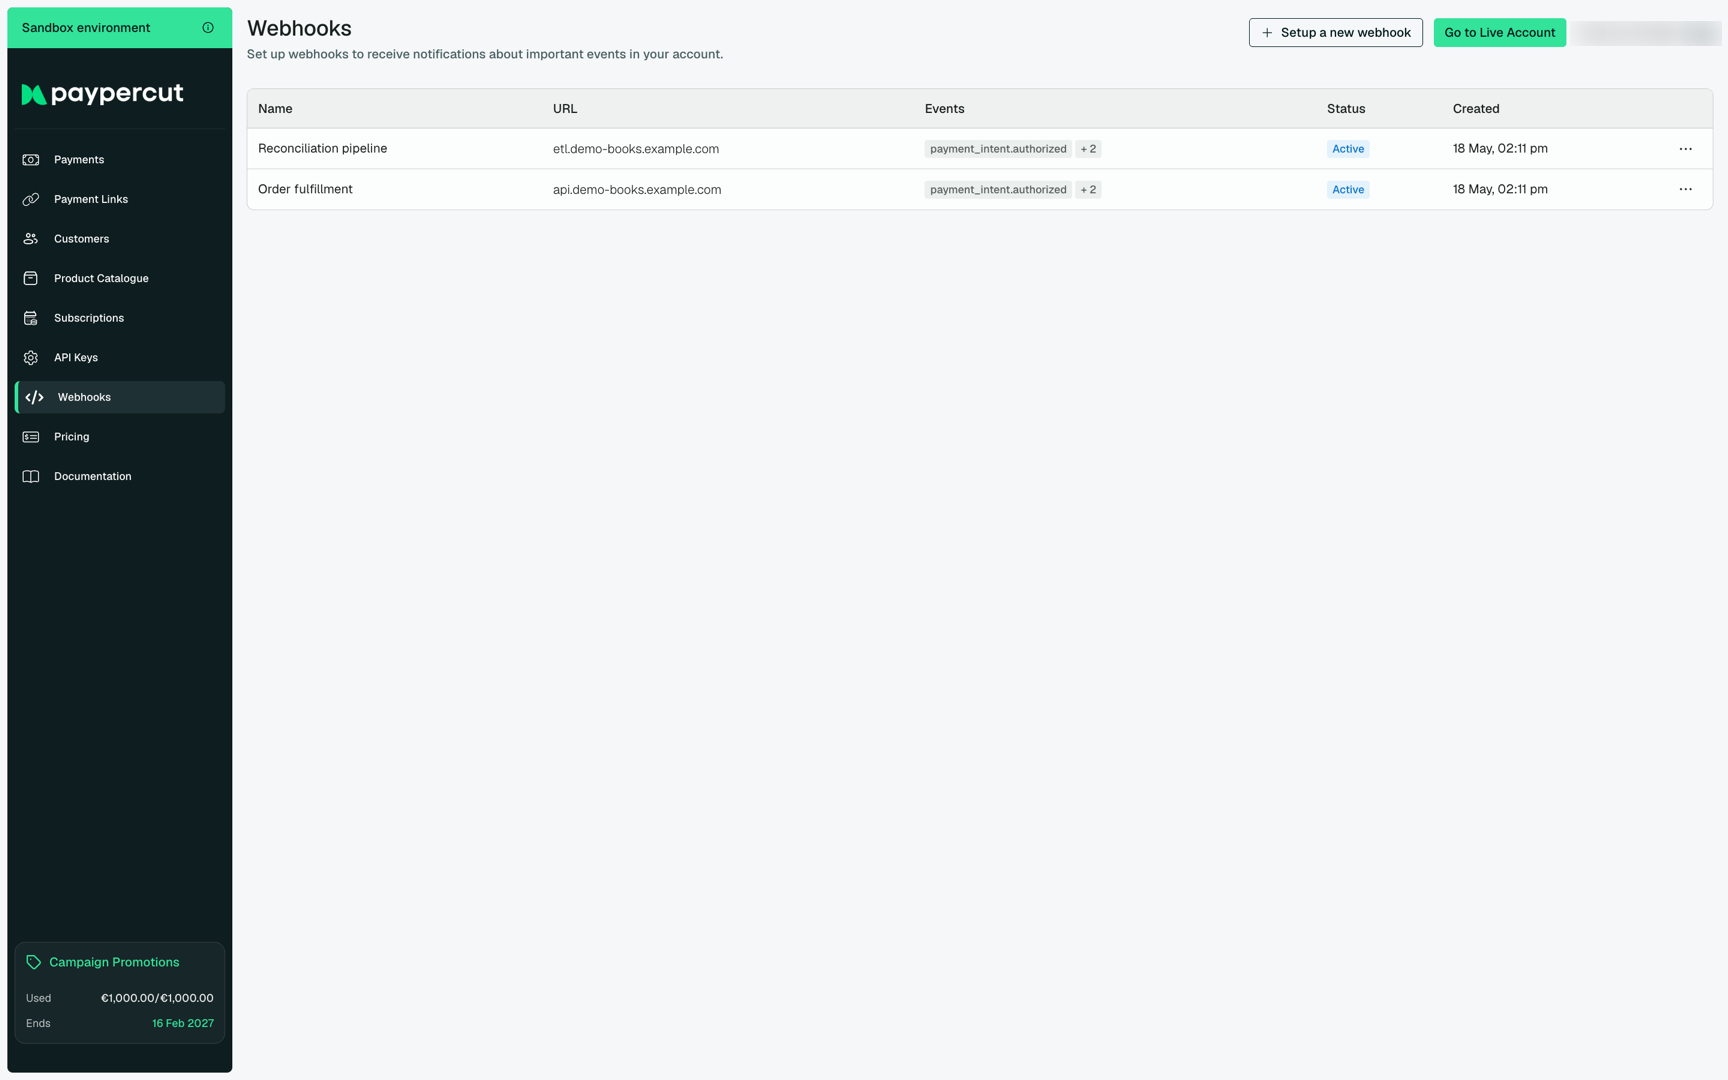
Webhooks
The Webhooks page lists every endpoint your account sends event notifications to. Use it to keep downstream systems — order fulfillment, ledger sync, reconciliation pipelines — in lockstep with what is happening in Paypercut, without polling the API.
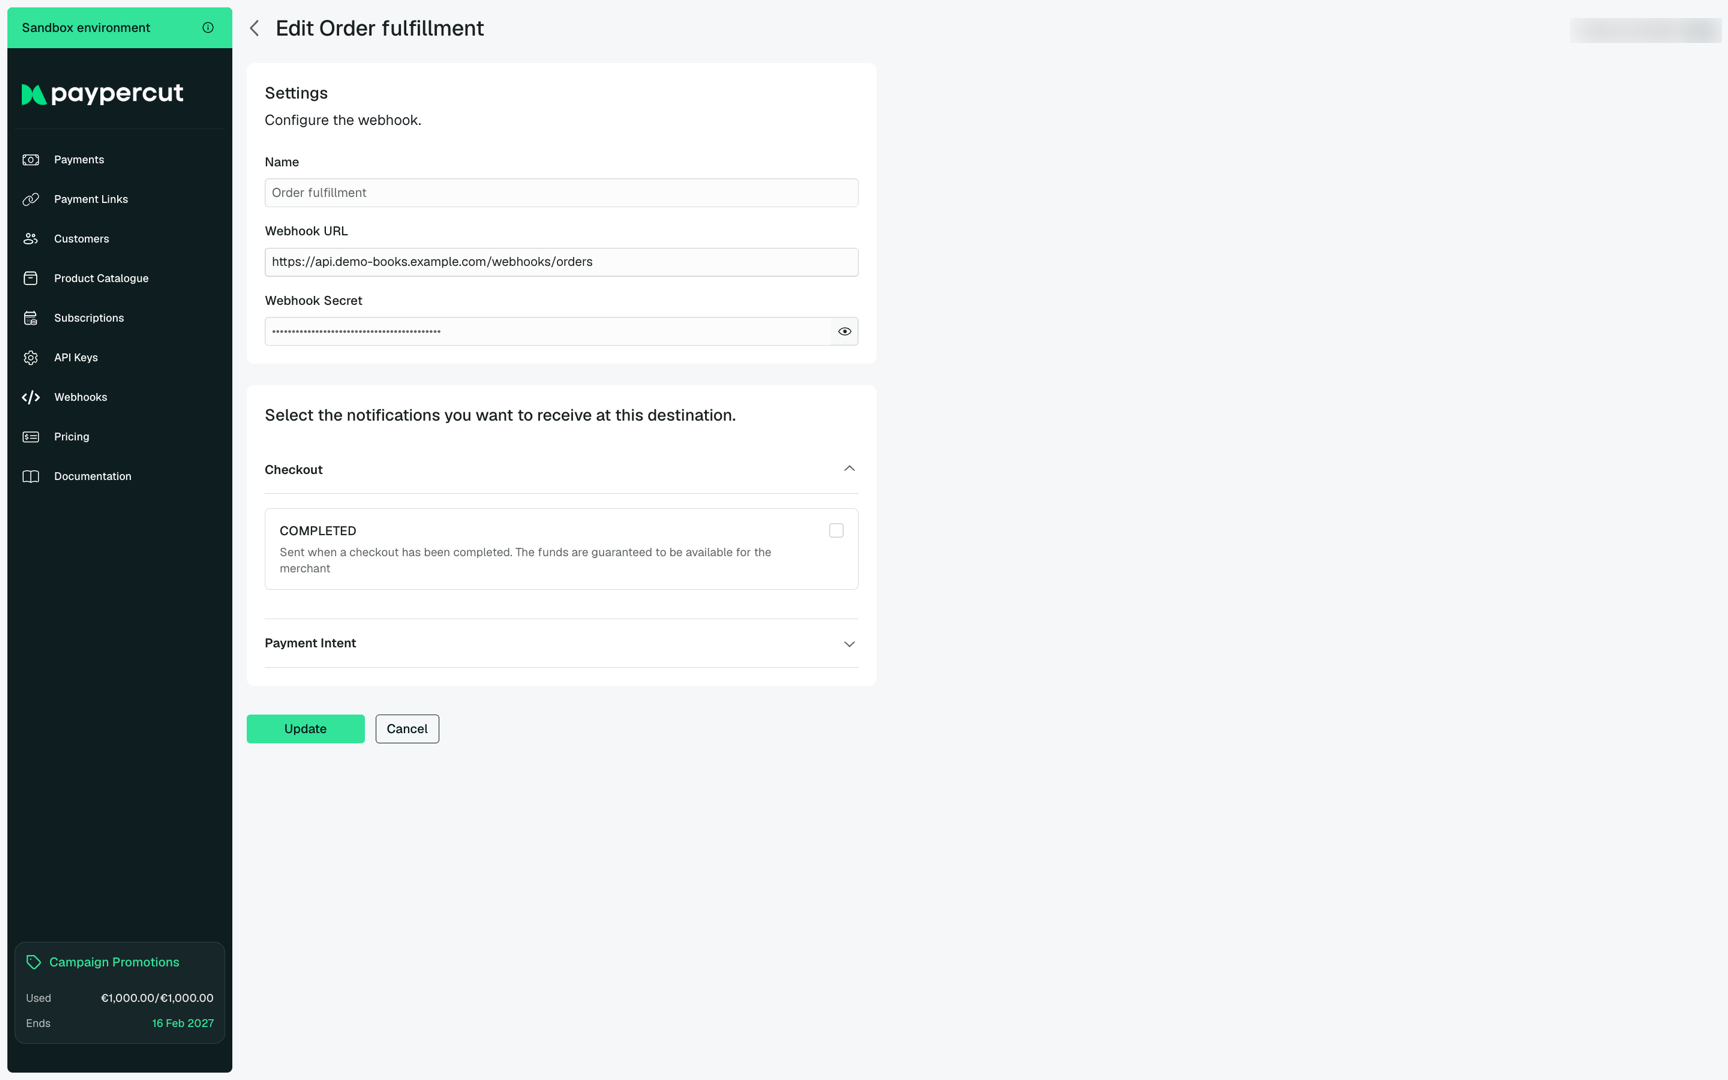
Each webhook can be edited to update its destination URL, rotate its signing secret, or change the events it is subscribed to. The detail view groups events by resource (Checkout, Payment Intent, and so on) so you can pick exactly the notifications you need.
API Keys
The API Keys page is where you create and manage the credentials your applications use to authenticate with Paypercut. You can issue keys for separate services, label them by purpose, and revoke them individually if a key is ever exposed.
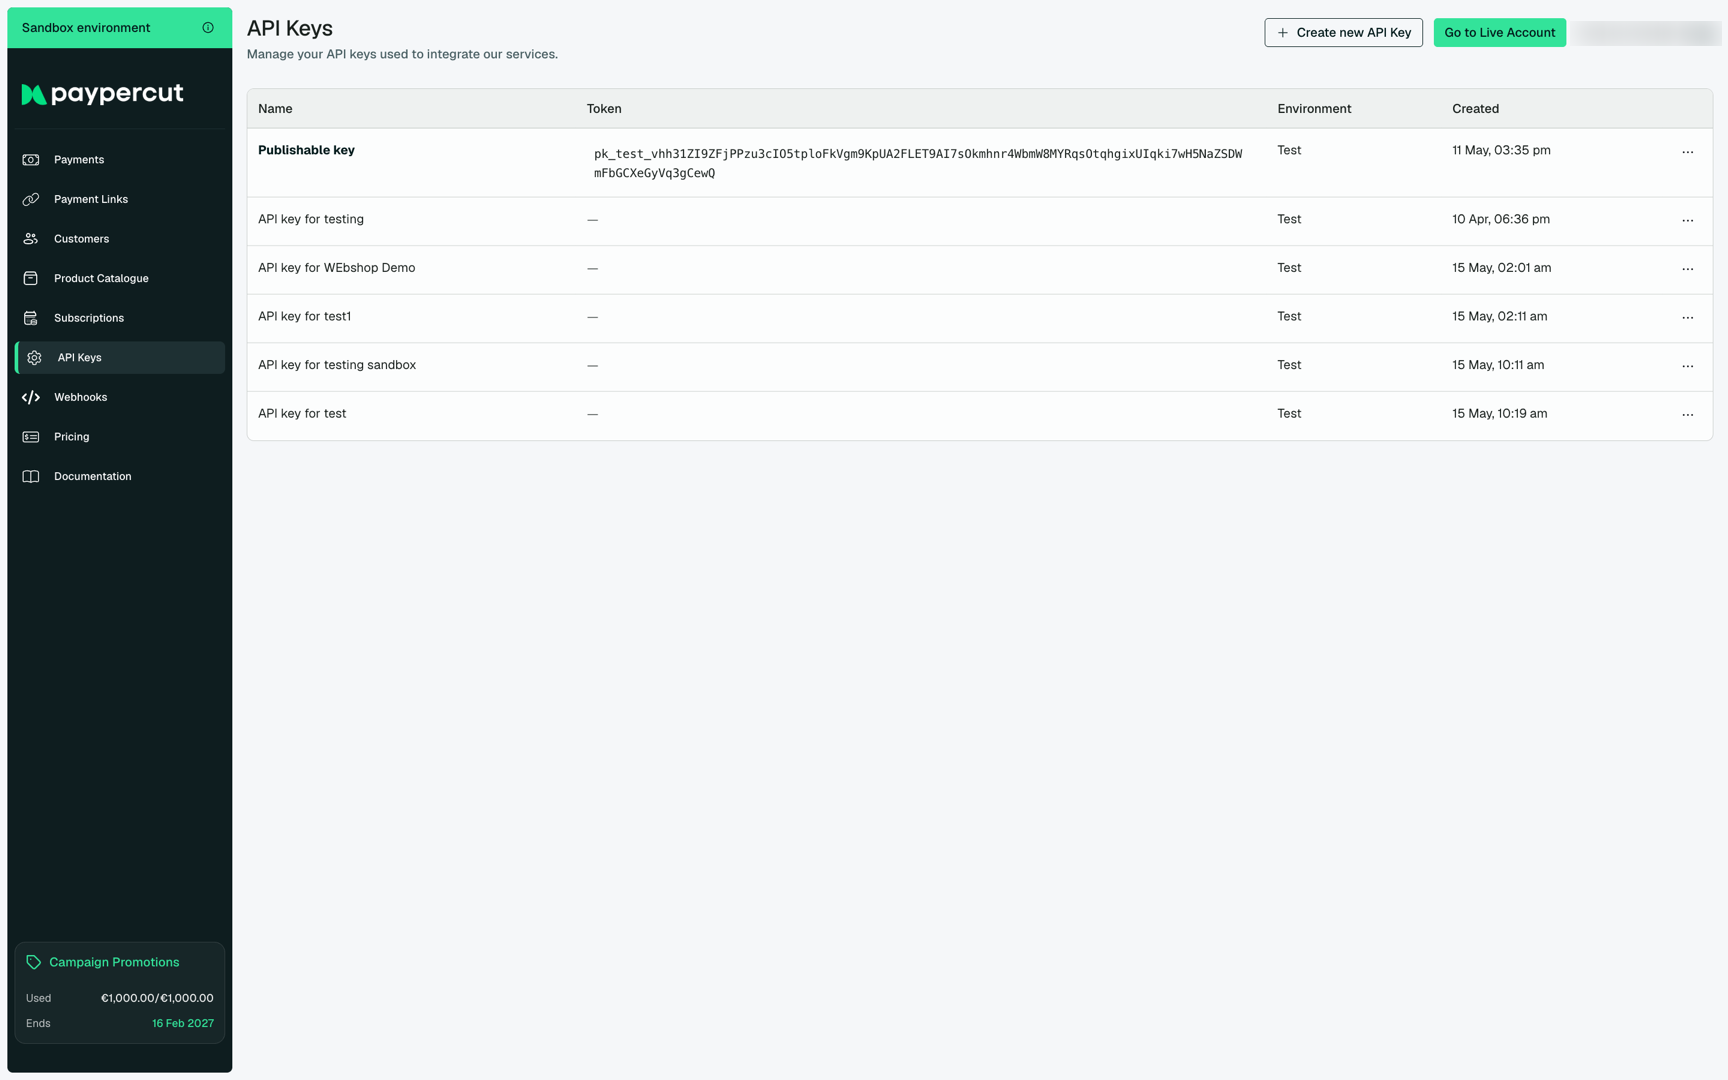
Treat secret keys (sk_test_…, sk_live_…) like passwords — store them in your application's secrets manager, never in source control. Publishable keys (pk_…) are safe to embed in client-side code.
Where to next
Now that you have seen the dashboard, the natural next steps are: