Shopify

::
Installation & Setup Guide
This guide explains how to install and configure Paypercut as a payment provider for your Shopify store so you can start accepting online payments.
Before you start
You will need:
- A Paypercut merchant account — register at https://dashboard.paypercut.io/register
- Paypercut API keys — a Sandbox key (
sk_test_…) for testing and a Live key (sk_live_…) for real payments. See Pre-Built Integrations for how to create them. - Admin access to your Shopify store (Settings → Payments)
Step 1 — Install Paypercut
Install Paypercut from the Shopify App Store:
Install Paypercut from the Shopify App Store
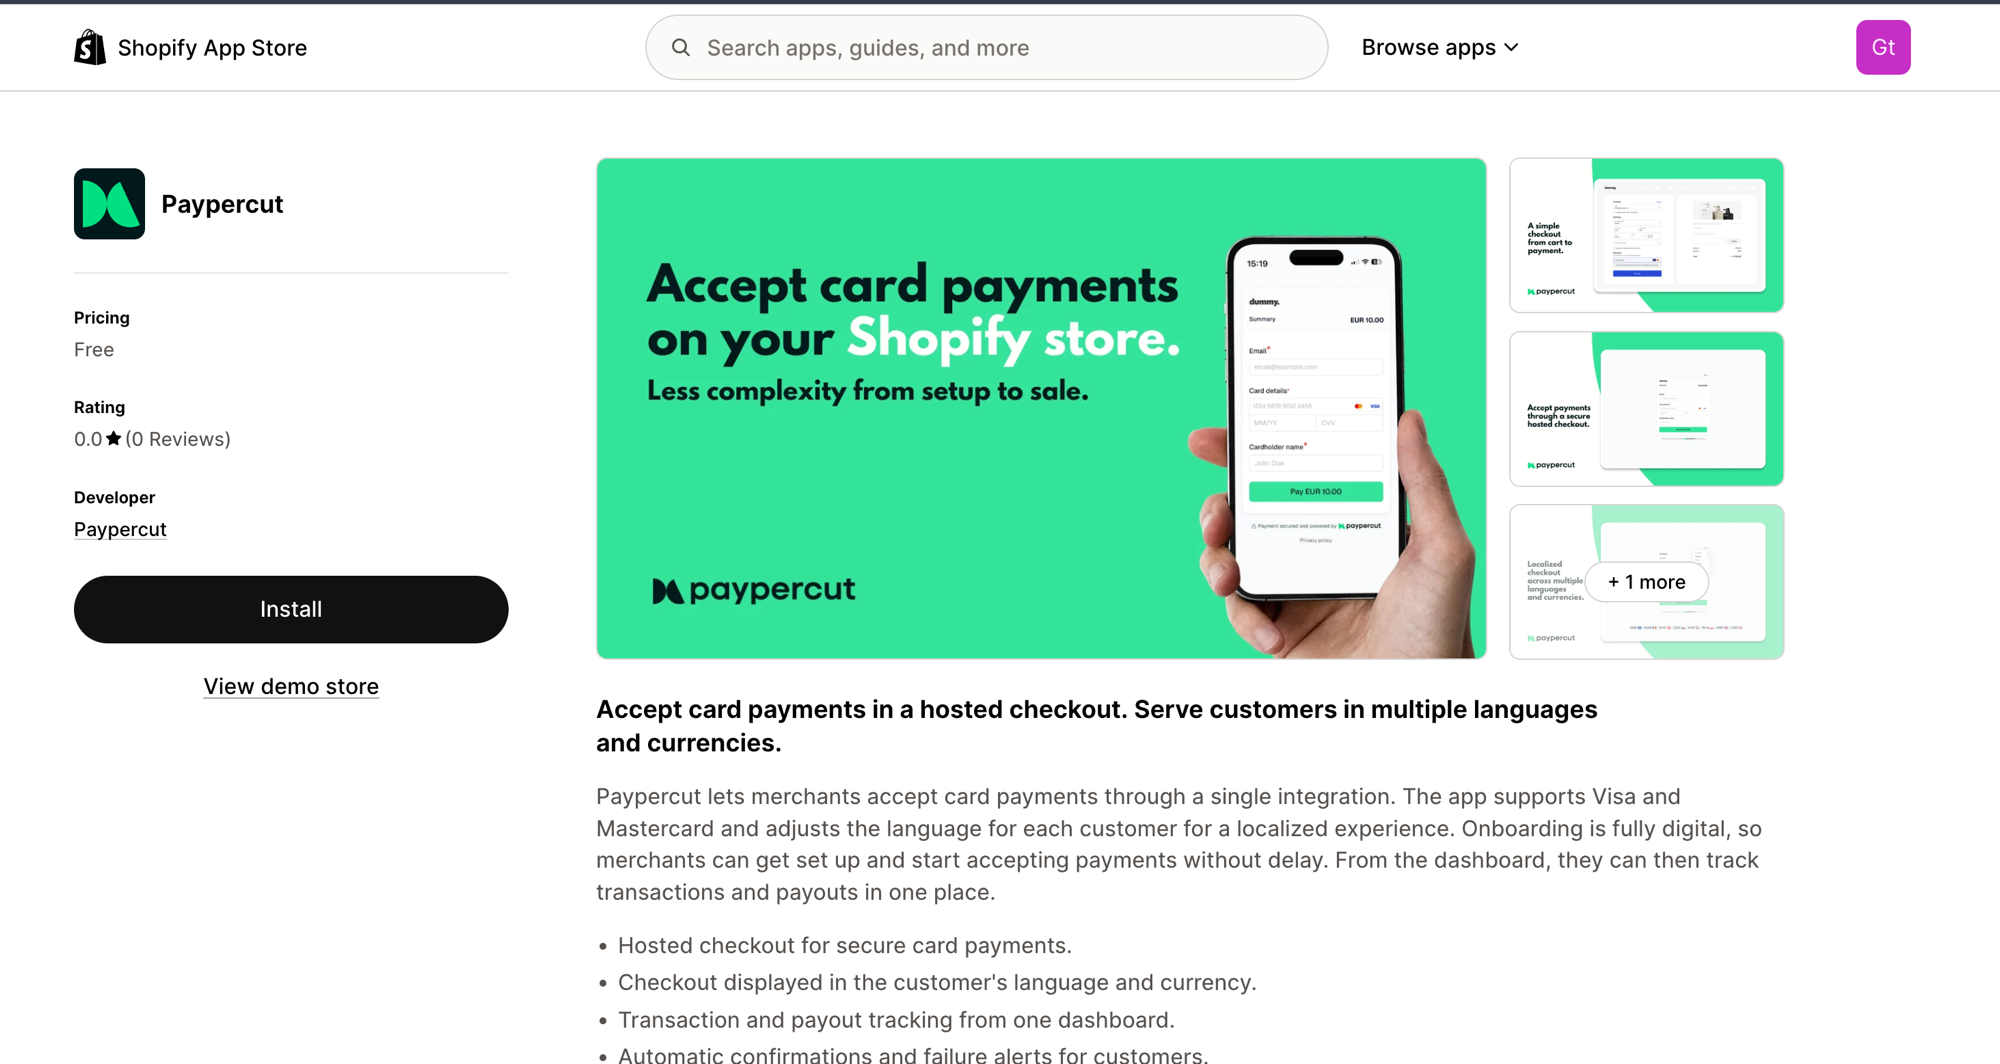
- Open the link above and select Install.
- Choose your store and follow the prompts, approving the requested permissions.
Paypercut doesn't appear under Settings → Payments → Search by provider yet, so searching won't return a result — install it from the App Store link above.
- Once installed, Paypercut shows as Installed with a notice that you're not accepting payments yet. To finish setup, click Manage account.
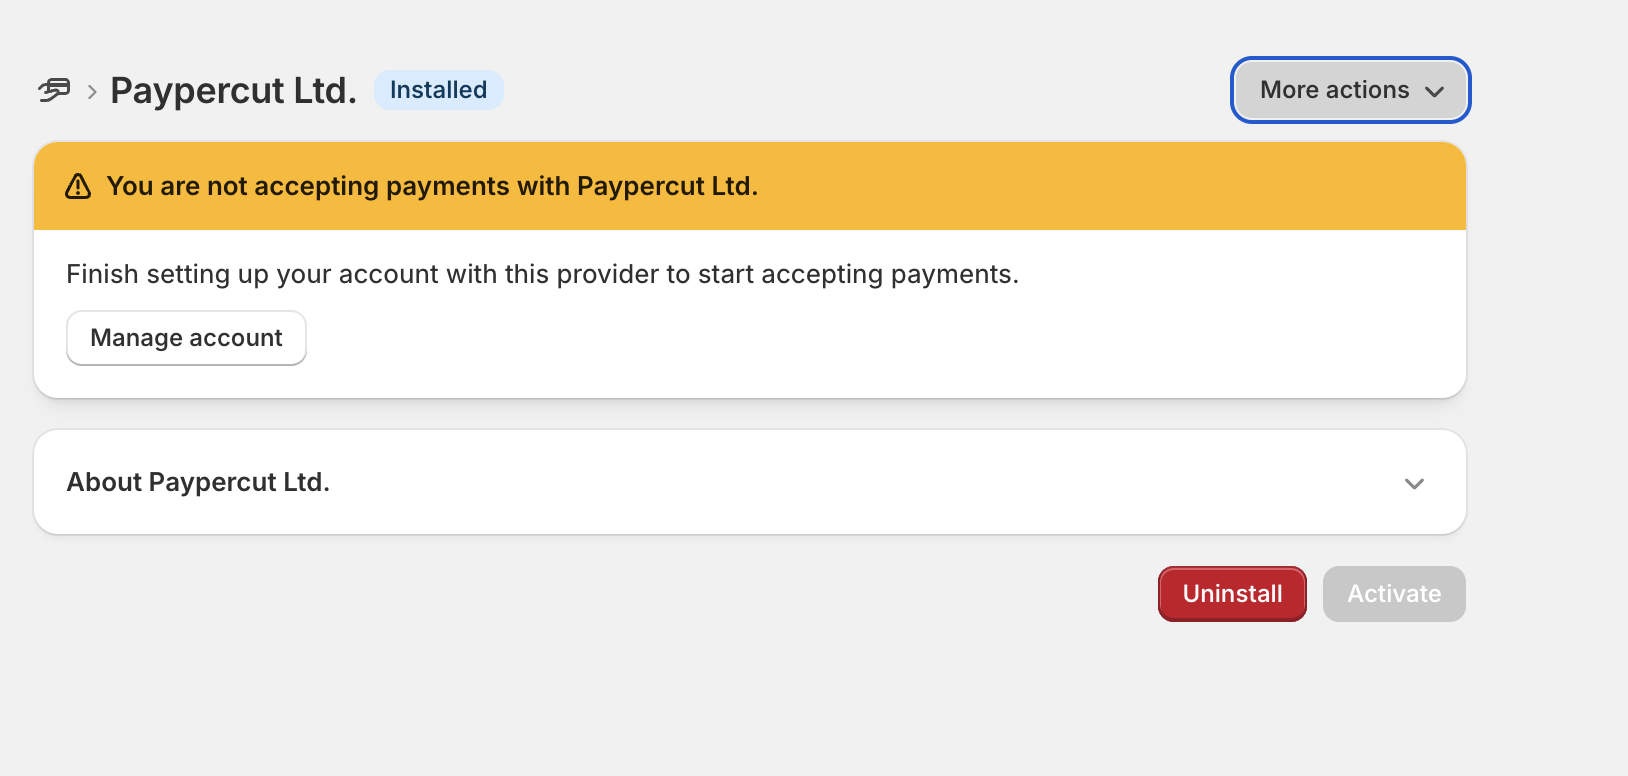
Step 2 — Configure the Paypercut settings
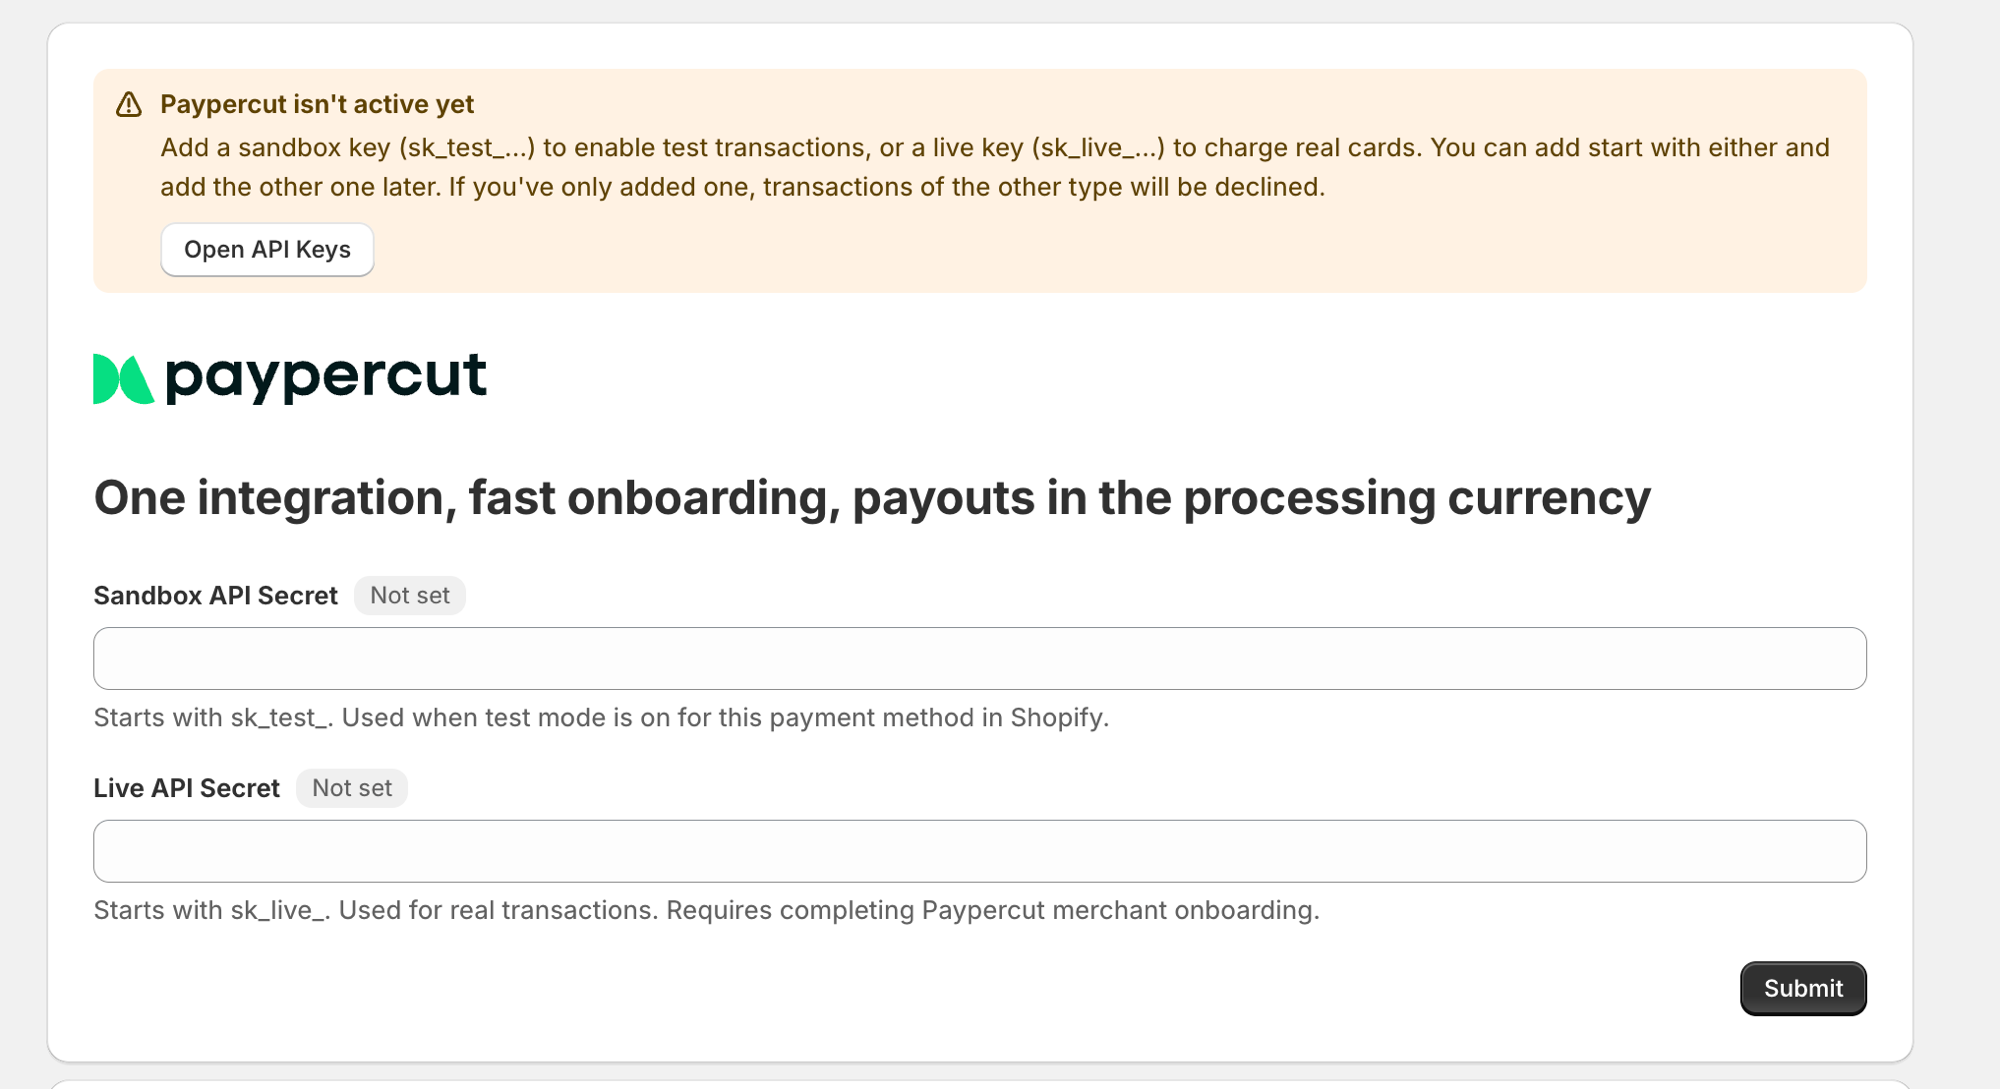
Clicking Manage account opens the Paypercut setup page.
-
API configuration — enter your secret key(s):
- Sandbox API Secret: starts with
sk_test_. Used when test mode is on for this payment method in Shopify. - Live API Secret: starts with
sk_live_. Used for real transactions. Requires completing Paypercut merchant onboarding.
Add at least one key — you can start with either and add the other later.
Don't have your API keys yet? Click Open API Keys on the setup page to go straight to the API Keys page in your Paypercut Merchant Dashboard — or see Pre-Built Integrations for the full walkthrough.
- Sandbox API Secret: starts with
-
Click Submit to save.
Store your secrets securely. Never expose production secrets to third parties.
Manage your keys anytime at https://dashboard.paypercut.io/developers/api-keys.
Test mode
Shopify has a Test mode toggle on the Paypercut payment method that controls whether payments are simulated or real — and which key is used:
- Test mode on — transactions are simulated using your Sandbox key (
sk_test_). No real charges are made. - Test mode off — real payments are processed using your Live key (
sk_live_).
So the key you add determines which mode works. If you've only added a Sandbox key, keep Test mode on — turning it off to go live without a Live key will cause transactions to fail. Likewise, with only a Live key, test orders fail until you add a Sandbox key.
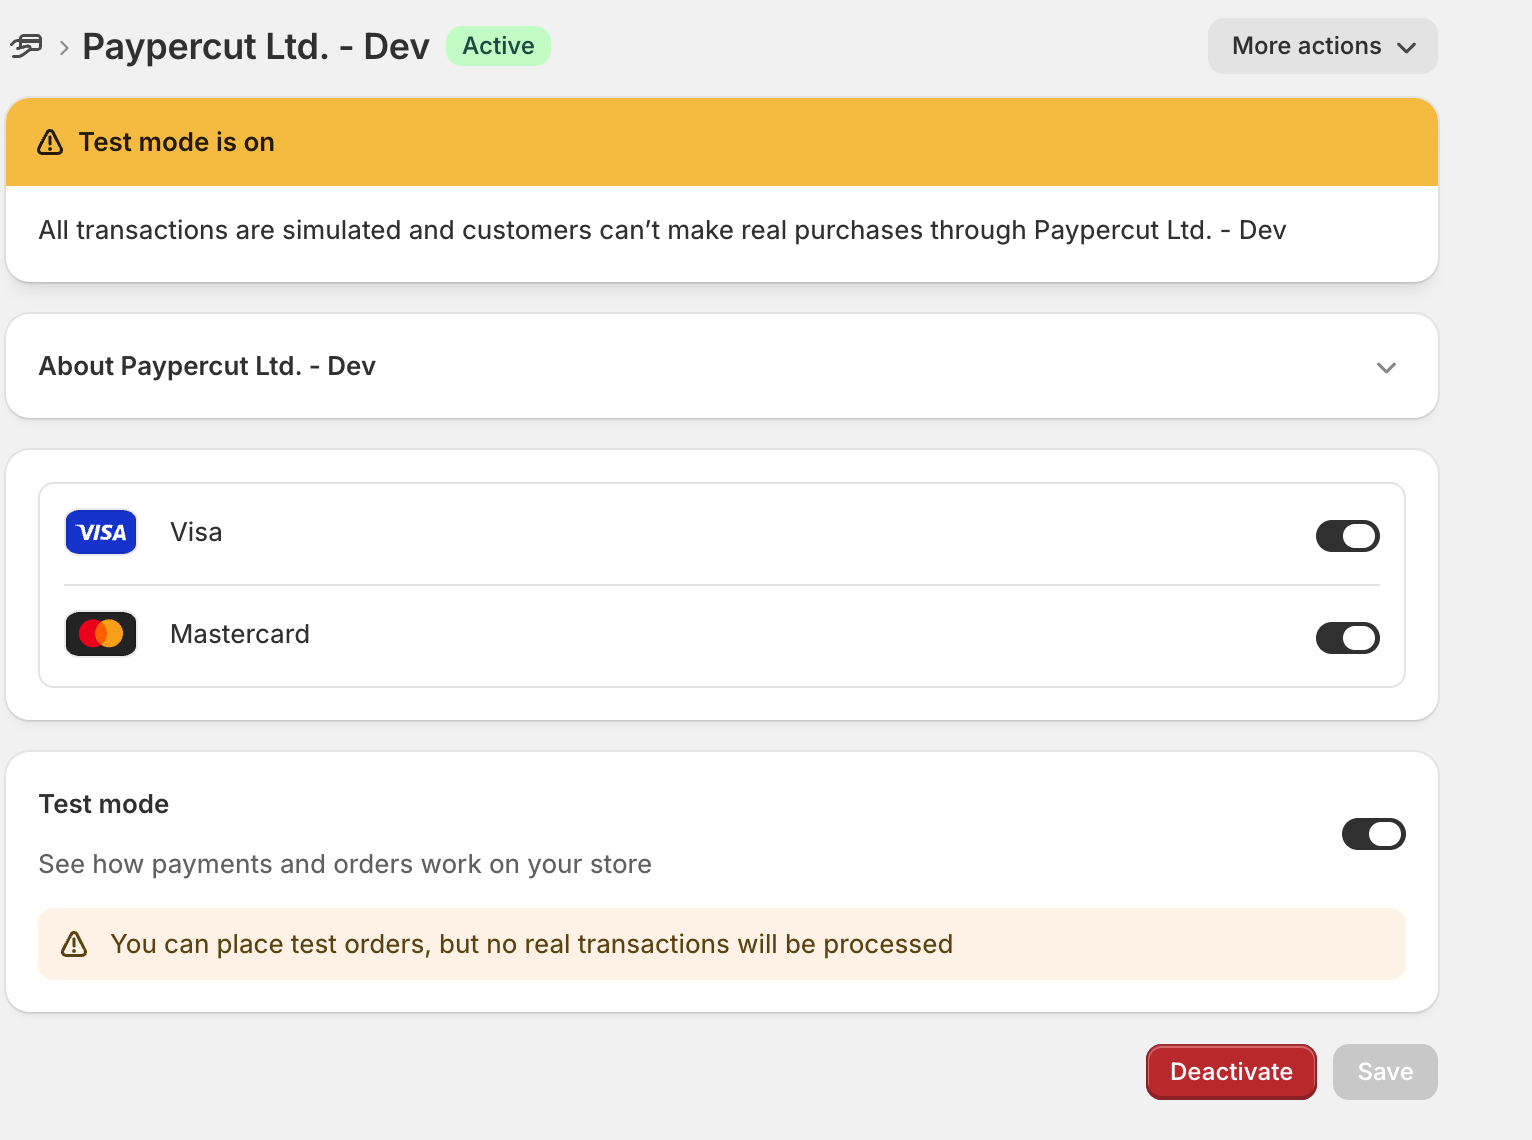
Now you should be able to accept payments through Paypercut. At checkout, buyers select Pay by card, complete the payment (including 3-D Secure) on the secure Paypercut hosted page, and return to your store. Captures, refunds, and cancellations you perform from Shopify order management are sent to Paypercut automatically.
FAQ
Q: Do I need anything besides the API Secret? A: No — a Paypercut API Secret is the only credential required.
Q: Are the API keys created in Shopify? A: No — create them in your Paypercut Merchant Dashboard. See Pre-Built Integrations.
Q: Do I need to configure webhooks? A: No — Shopify and Paypercut communicate automatically. There is nothing to set up.
Q: Will installing Paypercut affect my existing checkout? A: No — Paypercut is installed as an additional payment option.
Q: I can't find Paypercut when searching under Settings → Payments. Why? A: Paypercut is installed from the Shopify App Store, not by searching in Settings → Payments. Open that link and select Install.
For further help
- Merchant Dashboard
- Developer docs & API reference: https://docs.paypercut.io/api-reference
- Support: integrations@paypercut.co

